WARNING
⚠️ You are viewing this document on GitHub. The GitHub version might be incomplete. The Web Version has more details and better formatting.
Backup & Restore
IMPORTANT
Legado does not have an account system. You cannot restore your data simply by logging into a bookSource website.
You must configure a WebDAV service to restore your data from the cloud.
TIP
Any cloud drive that supports WebDAV can be used to back up your data.
Set Up Backup Info
⚙️ Set Up Backup Info
1. Go to Backup & Restore
Home Screen - Me - Settings - Backup & Restore
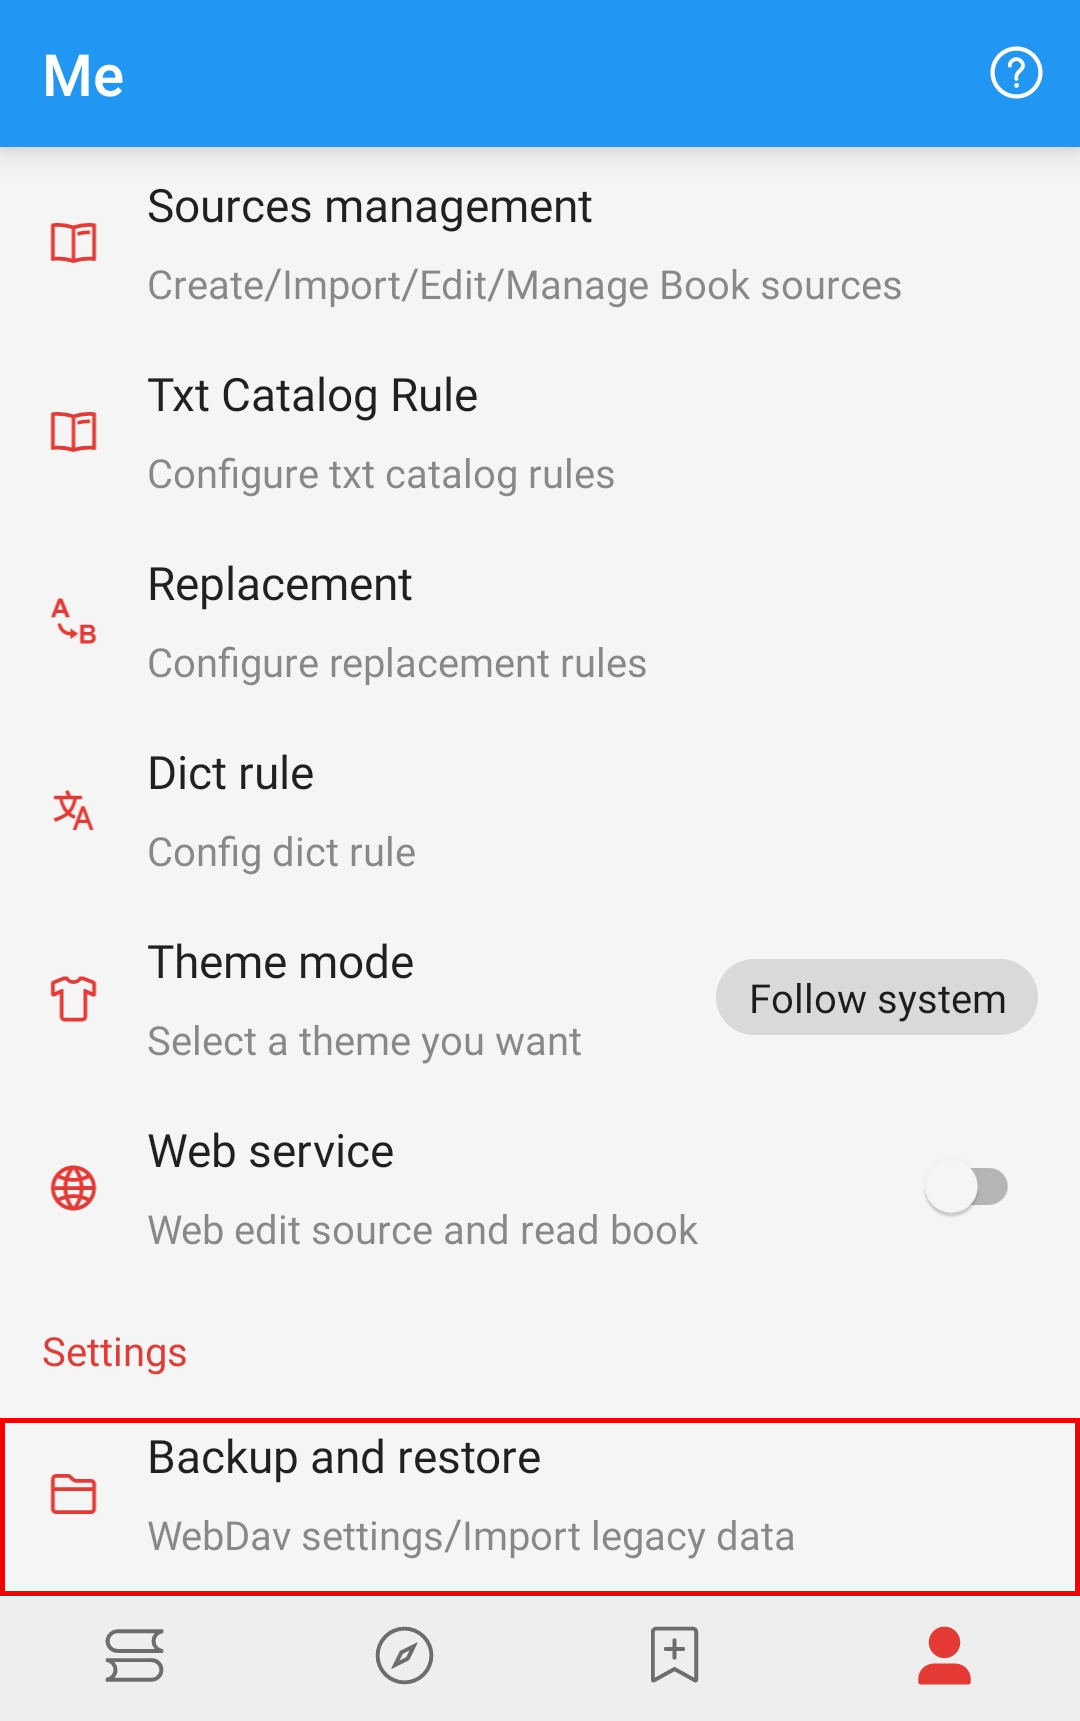
2. Enter WebDAV Backup Info
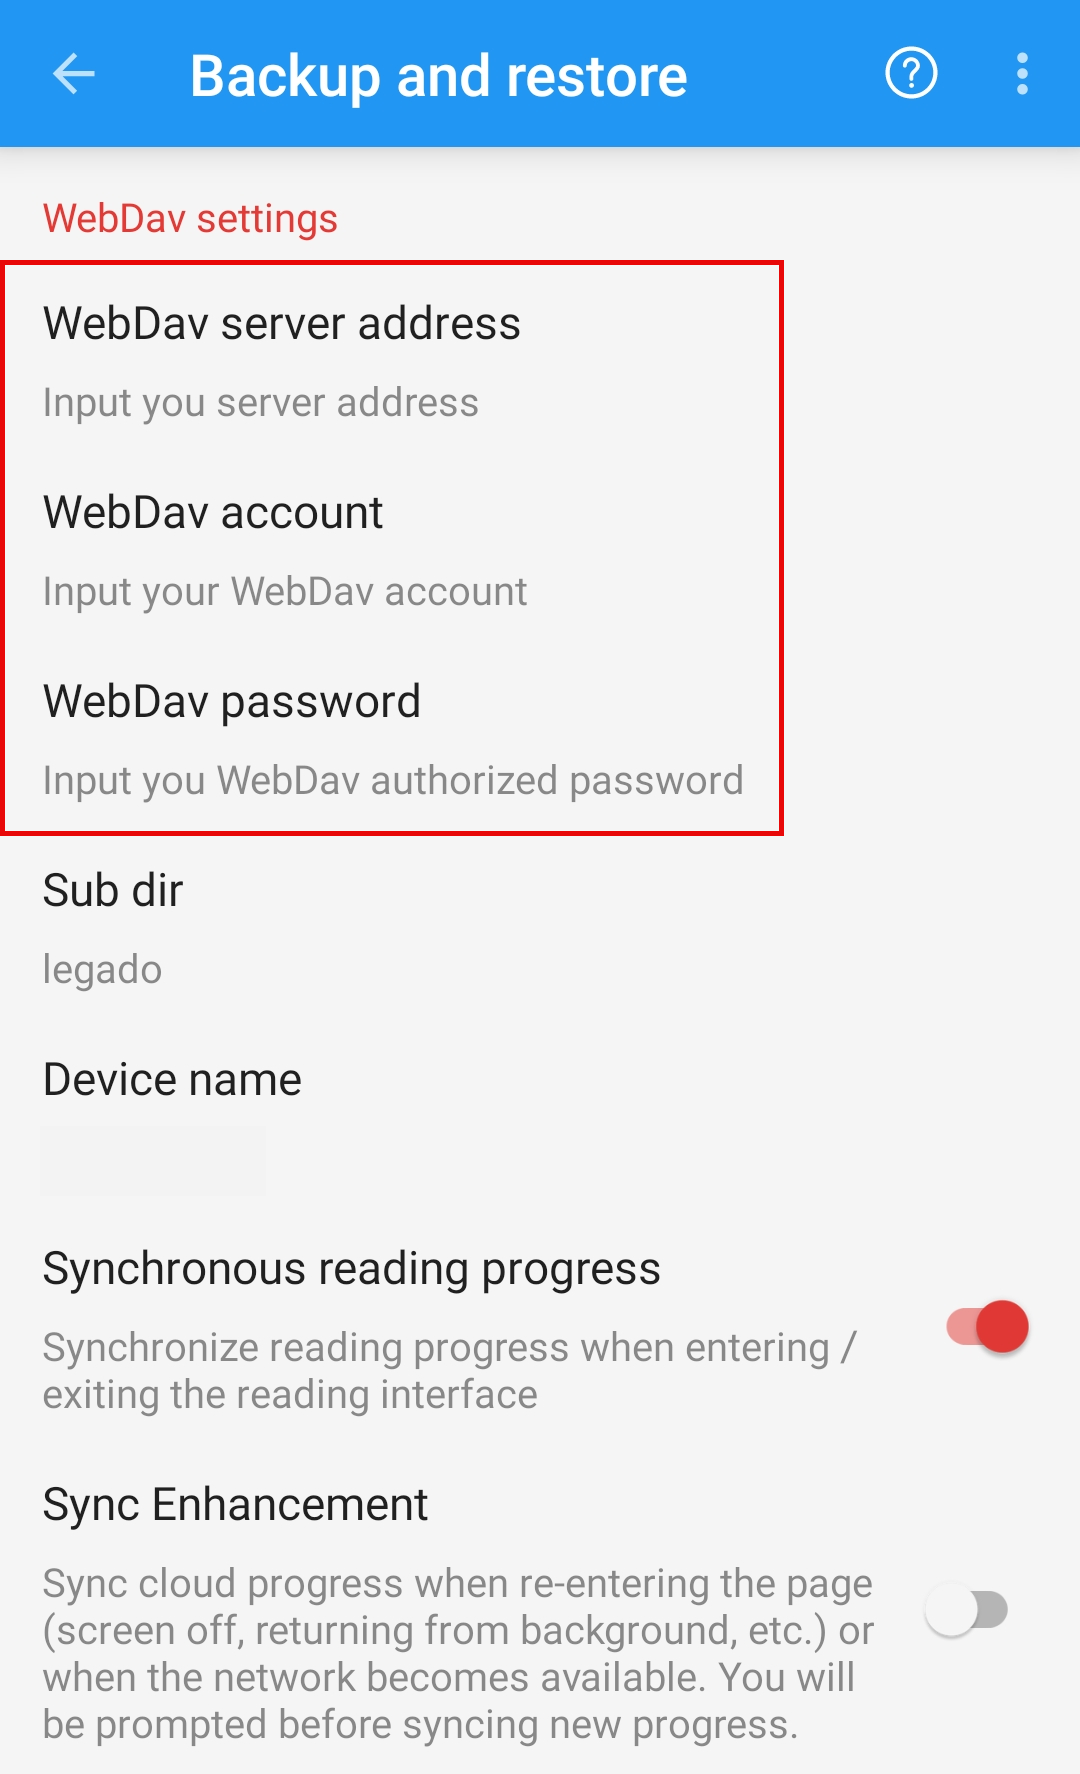
In the WebDAV settings, fill in the server address, account, and password, then save.
CAUTION
Please make sure to enter YOUR OWN WebDAV account info.
Otherwise, it will cause data leakage (and you will be the one responsible for it).
📂 Set Up Backup Folder
Click [Backup To] to set your backup folder
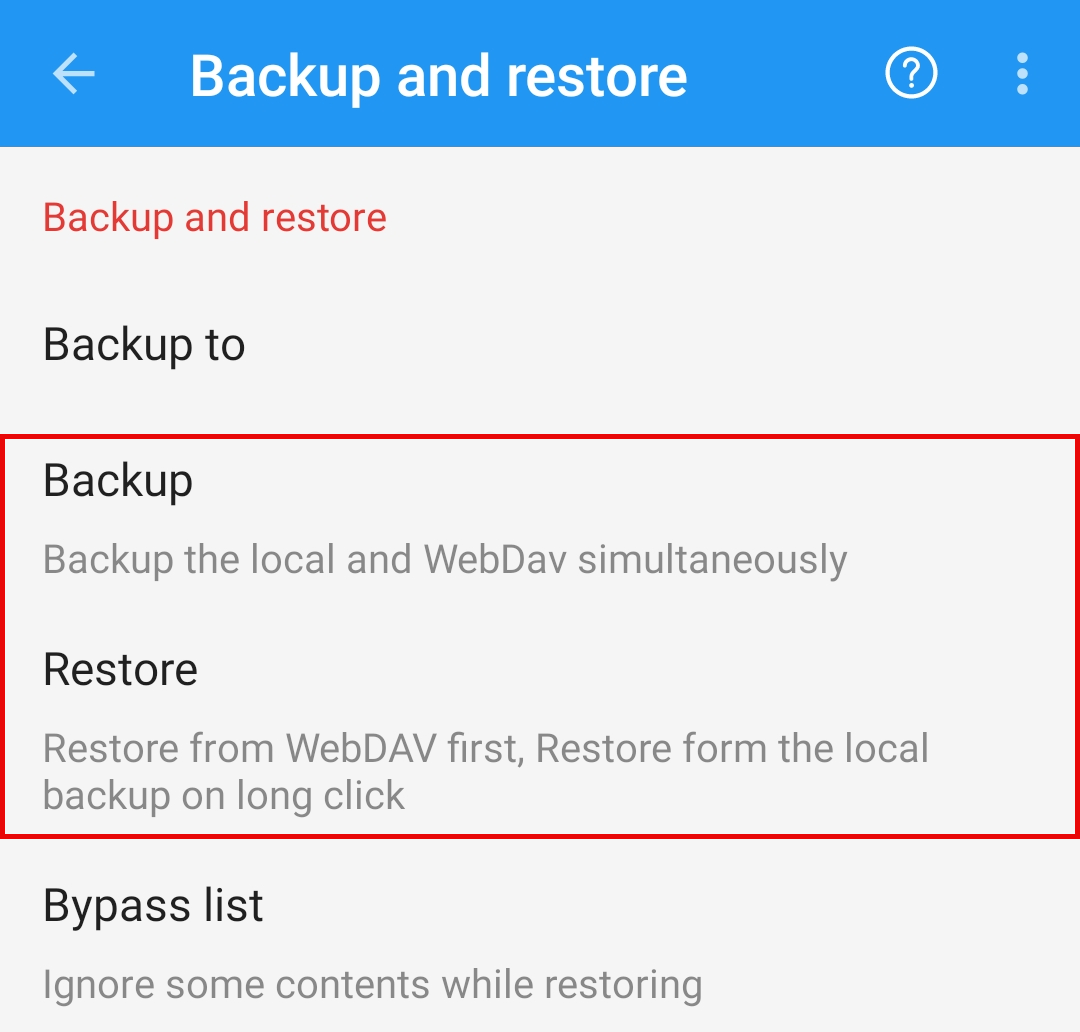
Click [Backup], and the following pop-up will appear
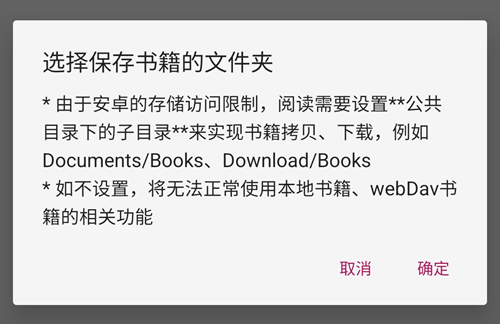
Click [OK] (确定). You can choose either option here
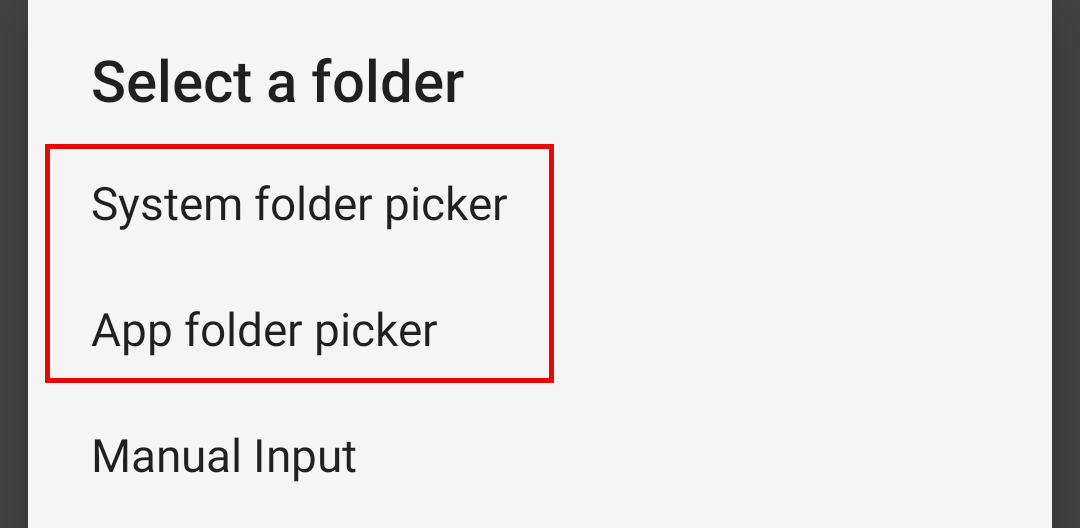
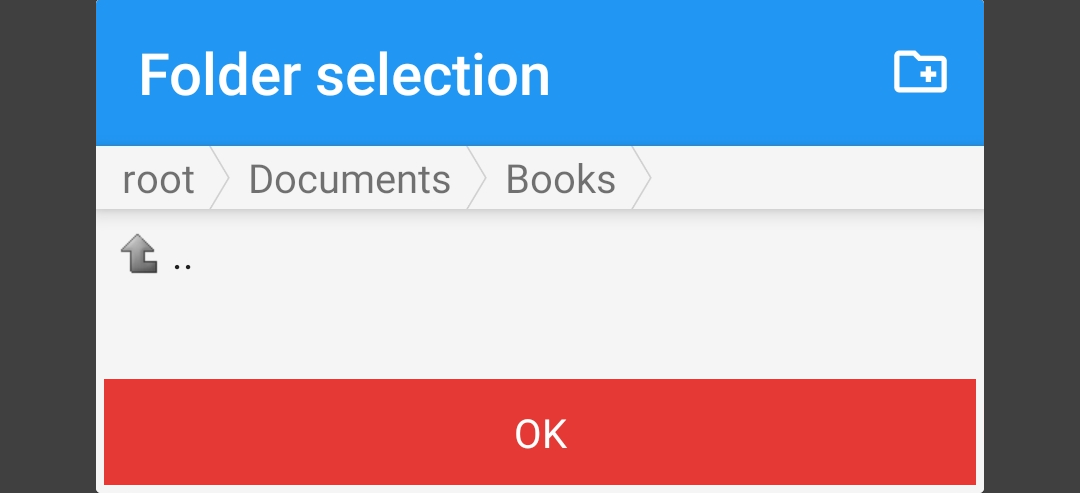
Navigate to the folder where you want to save your backup files, then click [OK]
💾 Automatic Backup
TIP
Once WebDAV backup is configured, the app will automatically back up every time you exit.
NOTE
Only exiting using the "Back" button will trigger the automatic backup. Closing the app directly from the task manager will not back it up.
Backups created on the same day will overwrite each other.
Backups from different dates will be saved separately.
Backup & Restore
⬆️ BackUp Data
Go to Backup & Restore, and click [Backup] to back up your data.
TIP
If the backup fails, please manually create a folder named "legado" in the root directory of your cloud drive, and then try backing up again.
⬇️ Restore Data
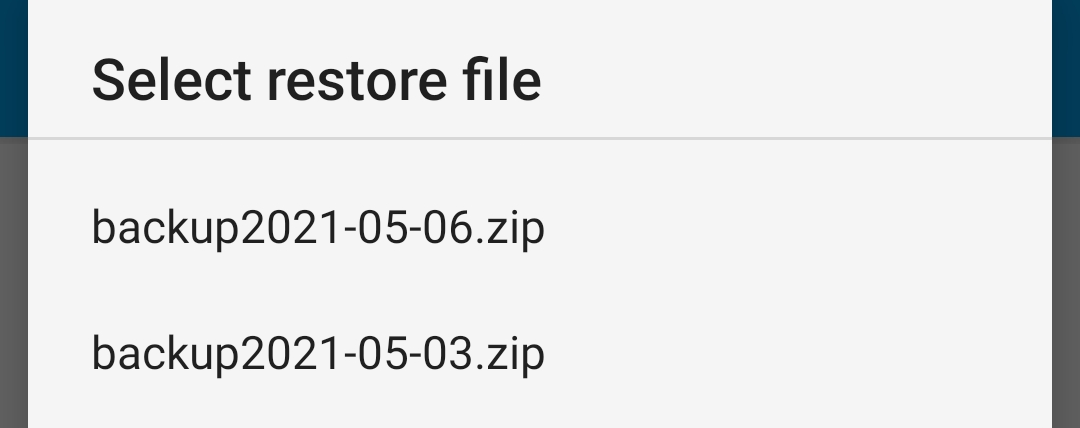
Go to Backup & Restore, click [Restore] select the backup file you want, and your data will be restored.